Why Your Wedding Photo Posture Collapses After Twenty Minutes

Quick Answer: Photo posture fails on endurance rather than on knowledge. Holding an elongated spine, drawn-back shoulders, and a slightly turned stance is a sustained low-level isometric contraction of the deep postural muscles, and untrained they fatigue in roughly 15 to 25 minutes. A wedding photo session runs 45 to 90 minutes. The fix is isometric endurance work - wall-supported holds, loaded carries, and side planks - for six weeks, plus a reset routine you can run in the eight seconds between shots.
The first twenty photos look exactly how you hoped. Somewhere around photo forty, in the ones you see later, your shoulders have crept forward and your chin has drifted out - and you have no memory of it happening.

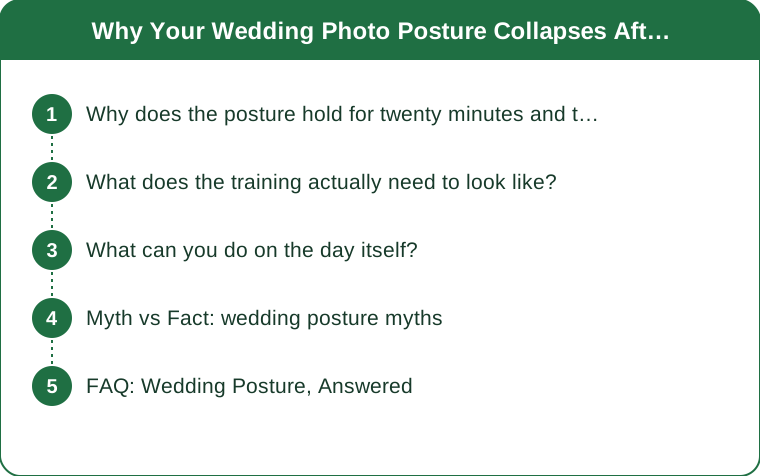
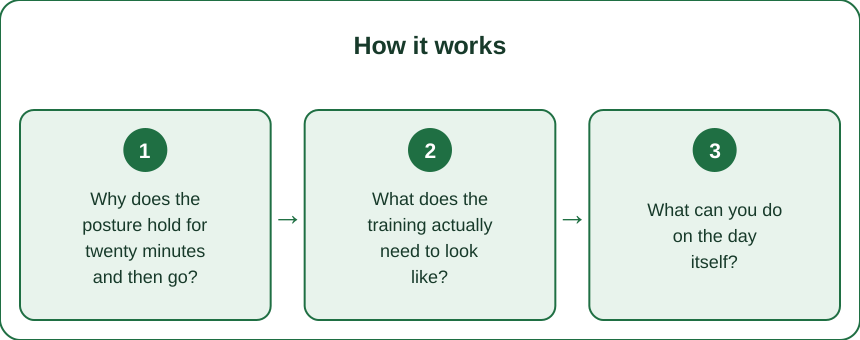
Why does the posture hold for twenty minutes and then go?
Because holding a posture is a strength endurance task, and you have almost certainly never trained it as one. The muscles doing the work are the deep spinal erectors, the lower trapezius, the deep neck flexors, and the glutes. None of them are producing much force. They are producing a small amount of force continuously, which is a completely different demand.
Low-level sustained contractions fatigue on a predictable curve. Motor units cannot be rotated indefinitely, and once the available pool is depleted, the position degrades. It does not degrade dramatically - it degrades by two centimetres at a time, which is why nobody notices it happening including you.
The degradation has a consistent order. Lower trapezius goes first, so the shoulders round forward. Then the deep neck flexors, so the chin pushes forward. Then the glutes, so the pelvis tips and the lower back arches to compensate. If you look at a sequence of your own photos from any long event, you can usually watch this happen in order.
It is not a posture knowledge problem. You know where your shoulders should be. You demonstrated that in the first twenty photos. The capacity to keep them there ran out.
What does the training actually need to look like?
Isometric endurance, three times a week, about 12 minutes a session. Not more strength - more time under a small load.
The four movements that map most directly onto photo posture:
- Wall angel holds. Back against a wall, arms at 90 degrees, backs of hands touching the wall. Hold 30 seconds, rest 30, three rounds. This trains the lower trapezius directly, which is the first thing to fail.
- Chin nod holds. Lying on your back, gently nod the chin without lifting the head, hold 20 seconds, five rounds. Trains the deep neck flexors that keep the chin from drifting forward.
- Suitcase carries. Walk 30 seconds with a single moderately heavy weight in one hand, staying tall and level. Three each side. This is the best available proxy for holding position while doing something else.
- Side plank holds. From the knees is fine. 30 seconds each side, three rounds. Lateral stability is what keeps a turned stance from sagging.
Progress by time, not by load. Wall angels from 30 seconds to 60 across six weeks matters far more than adding weight.
Six weeks at three sessions a week is roughly 18 sessions, and that is genuinely enough to move endurance capacity from 20 minutes to comfortably over an hour.

What can you do on the day itself?
Build a reset you can run in the gap between shots, because there will be dozens of gaps and you will need them.
The reset, in order, takes about eight seconds:
- Exhale fully. A held breath is extremely common in photos and it stiffens the whole chain. One full exhale resets it.
- Roll the shoulders back once and let them drop. Not held back - dropped. Held-back shoulders are the tense version that photographs badly and fatigues twice as fast.
- Lengthen through the top of the head. Think tall rather than straight. Straight produces a military brace; tall produces the line you want.
- Weight slightly onto the back foot. This settles the pelvis and takes the arch out of the lower back.
Run it every time the photographer moves. That is naturally every couple of minutes, and it gives the fatiguing muscles a two-second break plus a reminder.
Also worth knowing: heels shift the whole problem. Every centimetre of heel tips you forward and asks more of the calves and the lower back to hold the same line. If you have not worn the actual shoes for two hours in one go before the day, do that at least twice.
Myth vs Fact: wedding posture myths
Myth: You just need to remember to stand up straight. Fact: Remembering works for about twenty minutes. After that it is a capacity problem and no amount of remembering substitutes for endurance.
Myth: Core work will fix your posture. Fact: Standard core work - crunches, sit-ups - trains flexion, which is the opposite of what postural endurance needs. Anti-rotation holds and carries transfer; crunches do not.
Myth: A posture corrector brace helps. Fact: A brace holds the position for you, which means the muscles that should be doing it get less work rather than more. Useful for a few days as a cue, counterproductive as a strategy.
Myth: The photographer will tell you when your posture drops. Fact: Good photographers correct a lot, but they are also managing light, groups, and a schedule. Across a 90-minute session, plenty of frames go by uncorrected.
Myth: Six weeks is not enough time to change anything. Fact: For maximal strength, six weeks is modest. For isometric endurance, six weeks is a lot - this is one of the fastest-adapting qualities in the body, and improvements of 50 to 100 percent in hold time are common.
FAQ: Wedding Posture, Answered
How far out should I start this?
Six weeks is the sweet spot. Eight is better if you have it. Under four weeks still helps, but focus everything on the wall angels and the carries and drop the rest.
Will this help with how the dress sits?
Yes, noticeably. A dress hangs from the shoulders and the ribcage, and both change position when postural muscles fatigue. Fittings done at the start of a long day and photos taken at the end of one can look like different dresses on the same person.
What if I have an existing neck or back issue?
Keep the holds short and well within comfort, and get the program checked by a physiotherapist who knows your history. Isometric work is generally very well tolerated, but the right starting duration varies a lot. This is general information, not medical advice.
TL;DR:
- Photo posture fails on endurance, not knowledge - untrained postural muscles fatigue in 15 to 25 minutes against a 45 to 90 minute session.
- Degradation follows a fixed order: lower traps, then deep neck flexors, then glutes.
- Train isometric endurance three times a week for six weeks: wall angels, chin nods, suitcase carries, side planks.
- Progress by increasing hold time rather than load.
- Build an eight-second between-shots reset: full exhale, shoulders back and dropped, lengthen tall, weight slightly back.
The photos from the first twenty minutes prove you already know how to stand. The rest of the session is a stamina problem, and stamina is trainable in the time you have.
Keep Reading
This article is for general informational and styling purposes only. Fit, sizing, and product availability may vary.